Coleman tents are one of the most trusted brands for campers worldwide for their varying size and style options. They’re roomy, withstand the elements, and fit large groups comfortably. Yet, given its size and intricacy, one question remains: how to properly set up a Coleman 8-Person tent? The good news is that unless it’s storming all around, setting up a Coleman 8-Person Tent shouldn’t take you more than ten minutes. Setting up the Coleman Montana will only take a proper stretch-out, some proper pole connections, stake setups, and securing it with guy lines. In this article, we’ll explore these steps in detail to help you make it your home away from home in the woods without worries.
Table of Contents
7 Steps to Set Up a Coleman 8-Person Tent
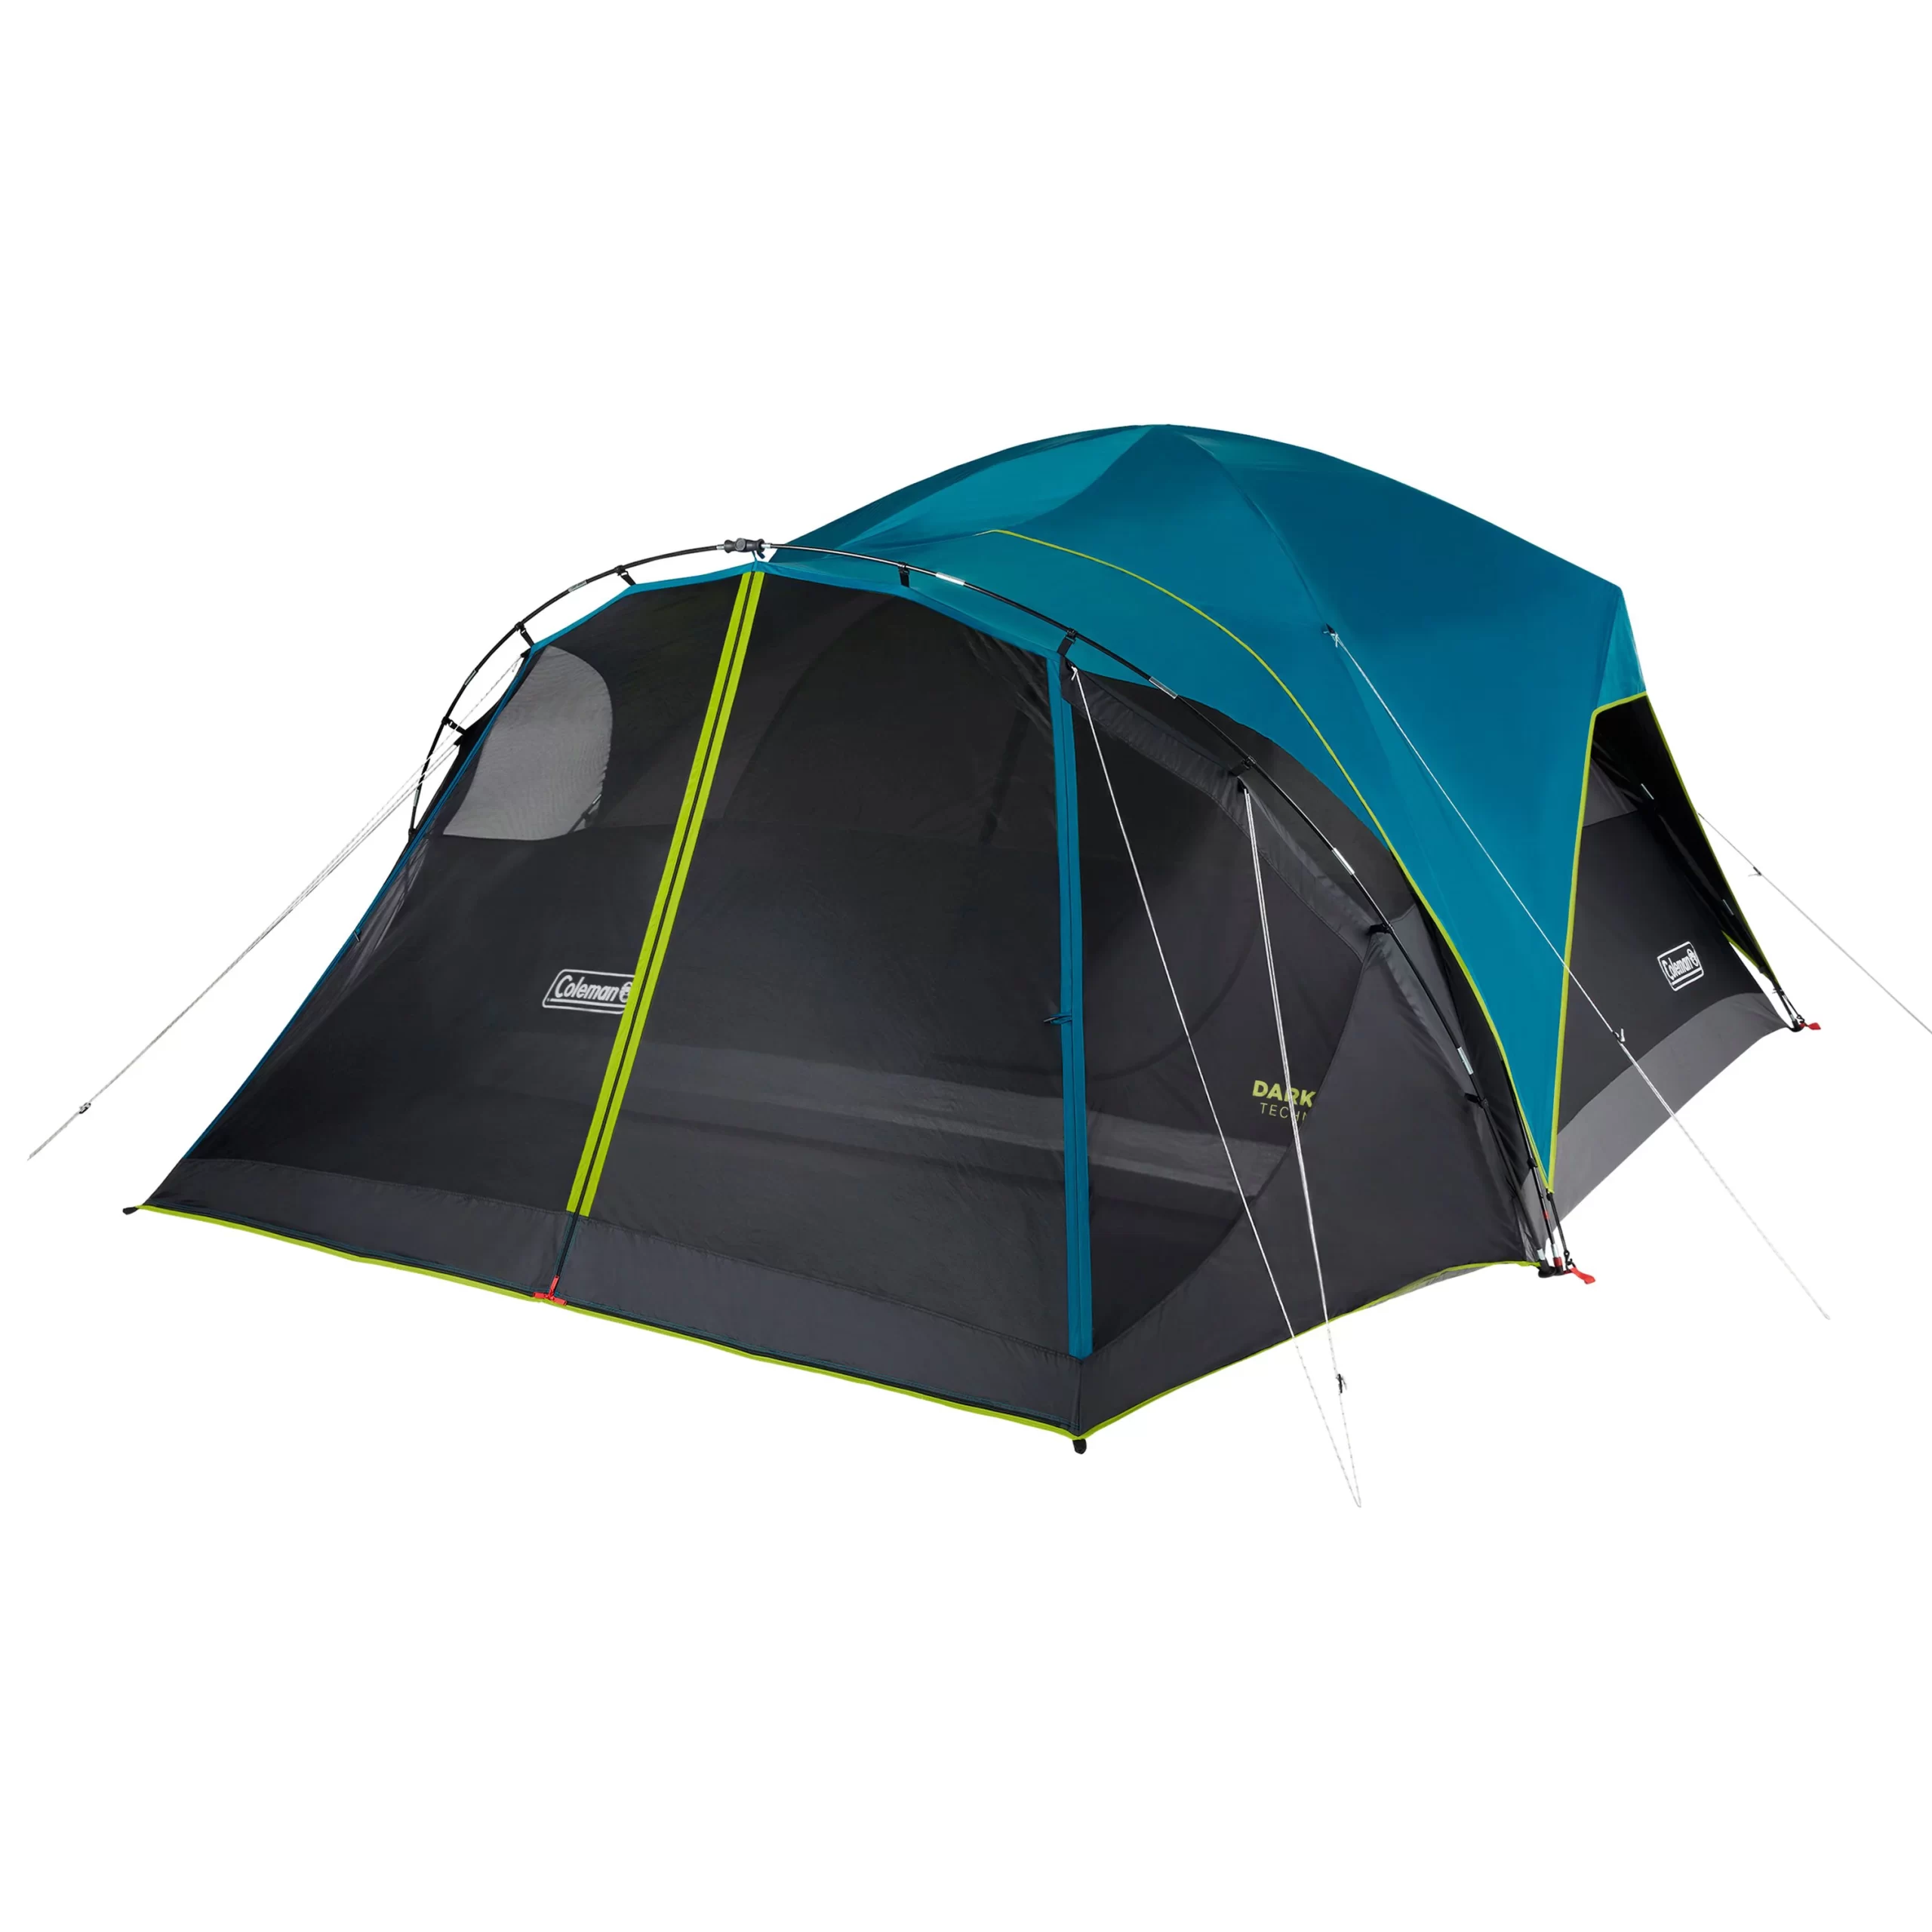
To be fair, the Coleman Montana 8-Person Tent (the one we’re showing here) doesn’t have a complicated setup. It’s easy to assemble and can fit comfortably even in tight spots, provided the ground is relatively flat.  If you need more space or are planning for a larger group, custom 10×10 tents could be a great alternative, offering extra room for your camping needs.
Here are the steps to follow:
Step 1: Locate Your Site Wisely
A major factor that affects the assembly process is where you put your tent. The best location should have a flat terrain and be away from any shrubs or branches. Check the ground for sharp objects that can puncture your tent’s flooring, wooden sticks, and stones.
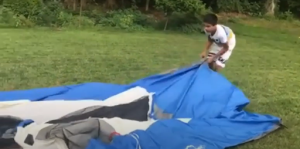
Step 2: Lay Out the Tent
Unpack your tent and spread it out on the floor. Spread it all, take out the poles, and lay them alongside. Your tent should be mostly laid out, and you should be able to make out the door flaps, rainfly poles, and solid body connection points clearly. Also, ensure the sideways face-up and orient the tent’s back closest to where you’ll enter and exit the most.
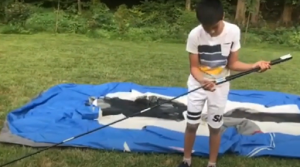
Step 3: Connect the Black Tent Poles
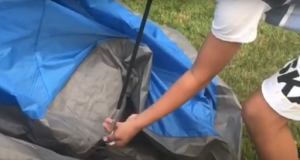
Coleman Montana comes with two sets of tent poles. The black poles are bundled within the package and split into pieces. You’ll have to connect them to each other’s ends through their holes until they make one long line (the gray poles will be needed later). Then, take the poles and slide them through the tent’s designated slots. Make sure to attach each pole to stay precisely the same way they were during packaging.
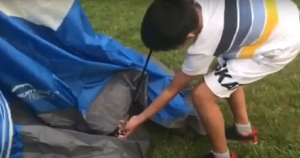
Step 4: Secure the Tent Poles at Each End
Now it’s time to attach each pole’s ends to the plastic loops on the tent wall. You’ll need to connect the tent poles to the tent’s eyelets running through the seams. Start by finding the pole ends and attaching them to each corner. There will be metal rings at each corner—secure the pole ends through them while pulling them through the loops. Do this as often as indicated in the instruction manual, and then repeat the same process for other poles. Next, hook up the other corners and then secure them.
Step 5: Stake Out the Tent
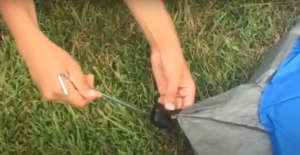
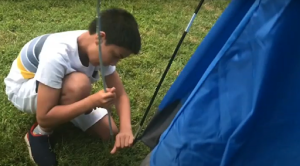
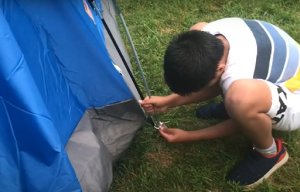
You need to secure your tent with stakes. Insert the stakes into the designated spots around the tent’s perimeter, such as close to the tent poles. To ensure that your stake stays firmly in the ground, use a mallet or rock to tap them further into the surface. Make sure you do this tight enough that the stake won’t be able to move around once it’s in the ground.
Step 6: Secure the Gray Poles and Rainfly
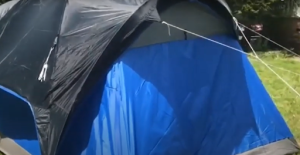
Attach the gray poles to each corner and slide them over the black poles. Make sure to connect them firmly, securing them with the plastic loops. However, ensure that the poles don’t touch any tent walls because it may cause condensation. Next, insert the rainfly over the tent and secure it with stakes at each corner and around the perimeter. Make sure it’s as tight as possible to ensure no rain can seep through.
Step 7: Set Up the Entrance
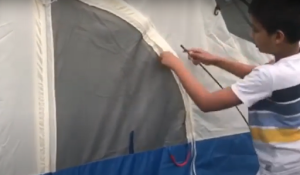
After using up all the tent poles, you’ll be left with two to secure the tent door with. You’ll have to slip one through the zip opener and the other through the hole at the side of the flap. Slipping the pole through the zip opening can be a bit tricky, and it will need some bending. However, you can make it easier by slipping one end through the zip and pushing it down.
Step 8: Fasten the Guy Lines and Enjoy Your Camping
The last step is to secure the tent with guy lines. These are used to keep the tent steady in windy conditions. Attach the corners with the corresponding lines and pull them tight. You can use a tent peg at each end and use a mallet for extra security. And you’re done! You can now enjoy the comfort of your new Coleman 8-person tent and prepare for your camping adventure.
A Few Additional Tips for Setting Up Your Coleman 8-Person Tent
The above steps should have you well on your way to setting up a Coleman 8-person tent. Here are a few additional tips to help you out:
- Remember to check if all the pieces are included in the package before you start assembling the tent.
- You can use a fabric softener or lubricant to ensure all the poles move freely.Â
- You can lay a tarp underneath your tent so it doesn’t get dirty or the bottom of your tent doesn’t get damp.
- For tying up the guy lines, use rock pegs or steel nails to ensure that the lines stay firmly in place.
- If it’s challenging for you to stand the tent up while slipping the poles through, use the stakes to hold down the walls while you assemble it.
- Using a wooden pole in the middle is also a great trick to keep the tent’s form as you secure the gray poles over the top.
- For taking the tent down, start by unfastening the guy lines and pulling out the stakes. After that, start disconnecting the poles one at a time and roll the tent up.
Frequently Asked Questions
Below, we have answered some of the most commonly asked questions about setting up a Coleman 8-person tent.
Can I set up the Coleman 8-person tent by myself?
You can set up a Coleman 8-person tent yourself if you follow the instructions above. However, for beginners, it’s always best to ask for help from a friend when setting up a large capacity tent. In particular, it’ll help to have extra hands for holding down the walls as you attach the poles.
How long does it take to set up the Coleman 8-person tent?
It usually takes about ten minutes for a single person to set up the Coleman 8-person tent if the above instructions are followed. However, for the first time, it can take up to half an hour to set up the tent completely and securely.Â
Do I need extra tools for the setup?
No, you don’t need any extra tools to set up the Coleman- tent. The only thing you might need is a mallet for extra safety when attaching the stakes. Besides, having a lubricant or fabric softener can help make the poles move more freely.Â
How do I store my Coleman 8-person tent?
You can store your Coleman 8-person tent in its original box or fold it and put it into a large bag. Using a waterproof bag is also best to keep it dry and safe from dust, moisture, and bugs. Be sure to let the tent air out in a dry area and ensure it’s clean before storing it away.
Conclusion
Coleman tents continue to make customers’ camping experiences more comfortable than ever. The Coleman 8-Person tent can be an amazing way to spend time with your family and friends during camping season. And now, with the instructions handy, you should have no trouble setting up yours. With patience and a willingness to spend a few minutes getting it right, setting up this behemoth of a tent won’t be too cumbersome, regardless of your expertise. Finally, we recommend you practice setting up your tent at home before taking it outdoors. That way, you’ll save yourself a lot of time and energy when you finally take it outdoors for a camping trip.
