
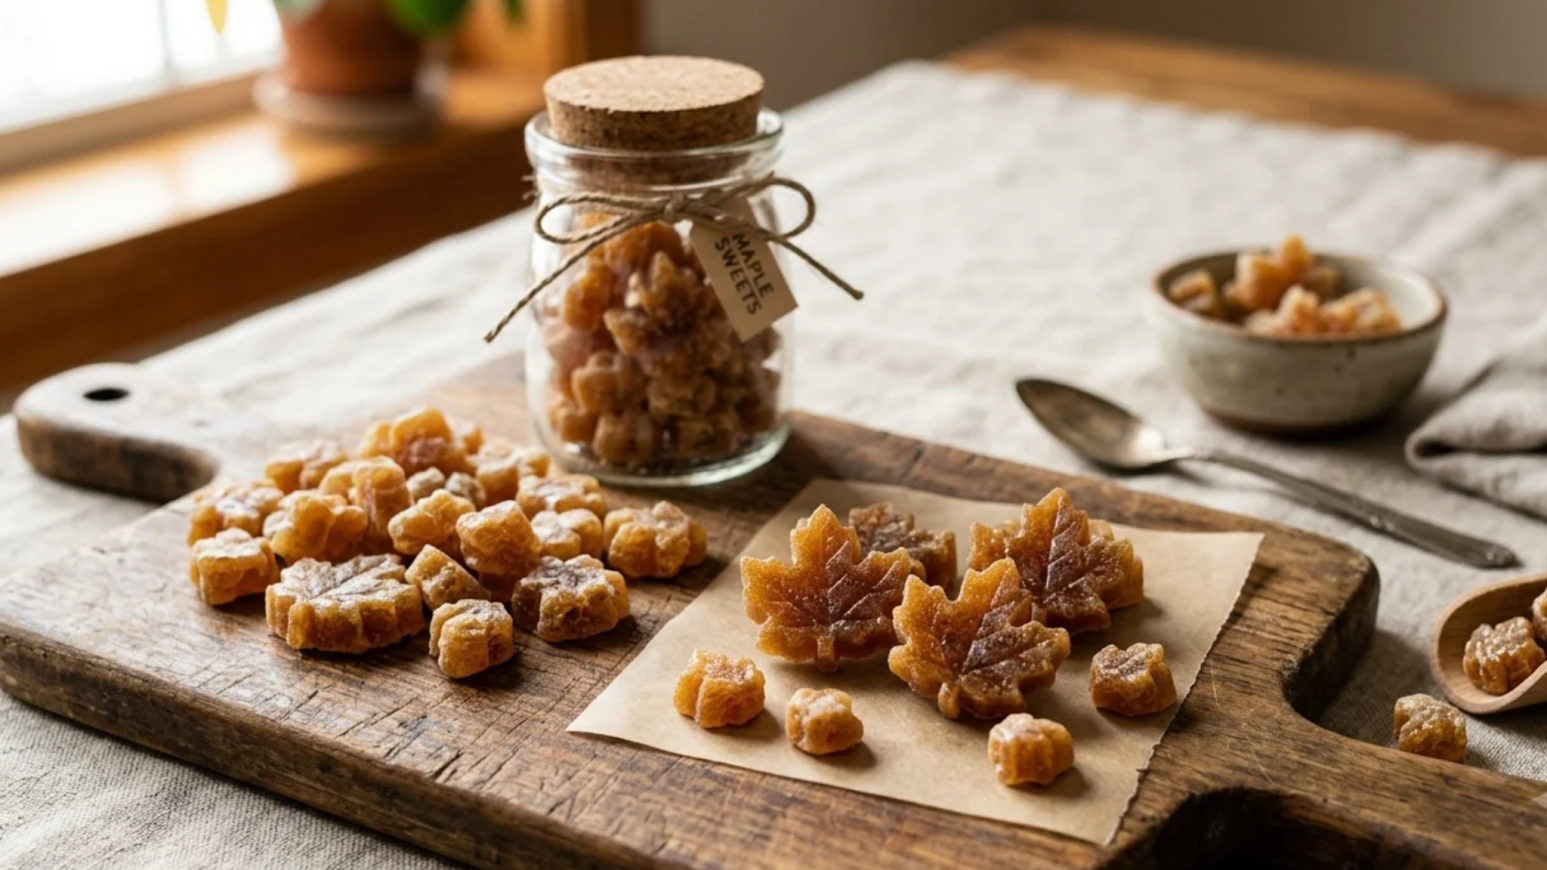
Maple candies are small, sweet treats made from pure maple syrup. They have a rich, buttery-smooth texture and a natural sweetness that makes them different from ordinary sugar candies. You can shape them into maple leaves, hearts, or simple bite-sized pieces using candy molds at home.
The good news is that you don’t need many ingredients to prepare them. The key is knowing how to heat the syrup, when to let it cool, and how long to stir it before pouring it into molds. This guide explains how to make maple candies step by step, along with the equipment you need, common mistakes to avoid, and tips for keeping your homemade candies fresh.
Table of Contents
What Are Maple Candies?
Maple candies are traditional sweets made by heating pure maple syrup and allowing it to cool before stirring it to encourage sugar crystallization. This process creates a firm but creamy candy that melts in your mouth rather than having the hard, glass-like texture of ordinary boiled sweets.
These candies are especially popular in Canada and the northeastern United States, where maple syrup production is common. They are often made in maple leaf-shaped molds, but you can use other shapes if you prefer.
Traditional maple candy recipes rely on pure maple syrup rather than a mixture of sugar, corn syrup, and artificial flavorings. The syrup provides both the sweetness and the distinctive maple flavor.
Ingredients Needed to Make Maple Candies
One of the best things about this recipe is its short ingredient list. Pure maple syrup is the main ingredient, while a little butter or neutral oil is optional.
Pure Maple Syrup
For this recipe, you will need:
- 2 cups of pure maple syrup
Check the ingredient label before buying your syrup. Pancake syrup and maple-flavored table syrup often contain other sweeteners and additives, which may affect the finished candy.
You can use different grades of pure maple syrup. Golden syrup generally has a lighter flavor, while darker varieties have a stronger maple taste. Both can work for homemade maple candies.
Optional Ingredients
Some recipes use a small amount of butter or a few drops of neutral vegetable oil to help control foaming during cooking. These additions are not essential to the basic recipe.
Recipe Details
- Preparation time: 10 minutes
- Cooking time: 15–20 minutes
- Cooling and setting time: 30–60 minutes
- Total time: Approximately 55–90 minutes
- Yield: About 24 small candies
- Main ingredient: 2 cups of pure maple syrup
- Difficulty: Easy to moderate
These timings and the yield are estimates. The actual number of candies depends on the size of your molds, and cooking time can vary with your stove and saucepan.
Equipment You Need Before You Start
Gather everything before heating the syrup. Once the mixture reaches the right consistency, it can begin to set quickly.
- Heavy-bottomed saucepan: Helps distribute heat evenly and reduces the risk of scorching.
- Candy thermometer: Measures the syrup’s temperature accurately.
- Wooden spoon or heat-resistant spatula: Used to stir the syrup as it cools.
- Silicone candy molds: Useful for making maple leaf candies or other shapes.
- Parchment paper: An alternative for setting the candy in a shallow pan.
- Heat-resistant gloves or oven mitts: Help protect your hands when handling hot cookware.
Choose a saucepan with high sides because boiling maple syrup can foam considerably. Keep children and pets away from the cooking area, as hot sugar syrup can cause serious burns.
How to Make Maple Candies at Home
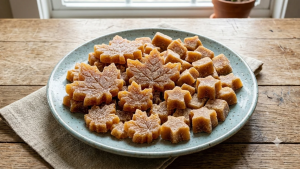
Making maple candies at home is simple when you get the temperature and timing right. Follow these seven steps to prepare smooth, creamy maple sweets.
Step 1: Prepare Your Candy Molds
Place clean, dry silicone candy molds on a flat, heat-resistant surface. If you don’t have molds, line a shallow pan with parchment paper. Have everything ready before heating the syrup, as the mixture can set quickly.
Step 2: Heat the Maple Syrup
Pour 2 cups of pure maple syrup into a heavy-bottomed saucepan. Heat it over medium heat until it reaches a boil. Use a deep saucepan to prevent the syrup from foaming over, and keep a close eye on it while it cooks.
Step 3: Cook the Syrup to the Right Temperature
Attach a candy thermometer to the pan without letting its tip touch the bottom. Many traditional recipes heat maple syrup to around 235–240°F (113–116°C), although the exact target depends on the recipe and local boiling conditions.
Undercooking can leave the candies sticky, while overheating may make them too firm. Follow your recipe’s temperature instructions for the best results.
Step 4: Let the Syrup Cool
Remove the saucepan from the heat and let the syrup cool without stirring. Many traditional methods recommend cooling it to around 175°F (79°C) before stirring. Keep the pan on a stable surface because hot syrup can cause serious burns.
Step 5: Stir Until the Mixture Thickens
Once the syrup reaches the recommended cooling temperature, stir it with a wooden spoon or heat-resistant spatula. It should gradually become lighter, thicker, and less transparent as sugar crystals form. Stop stirring when the mixture is thick but still easy to pour.
Step 6: Fill the Candy Molds
Carefully spoon the mixture into your prepared molds, filling each cavity evenly. If you’re using a parchment-lined pan, spread the mixture into a shallow layer. Work quickly before the candy begins to set, and avoid touching the hot mixture directly.
Step 7: Cool and Remove the Candies
Let the candies cool completely until firm, then gently remove them from the molds. If they feel sticky, they may need more drying time or the syrup may not have reached the correct temperature. Make sure the candies are dry before transferring them to an airtight container.
Tips for Making Maple Candies Successfully
A few small adjustments can help you get better results when preparing homemade maple candy.
- Use pure maple syrup: It provides the characteristic flavor and is the right starting point for traditional maple candies.
- Check your thermometer: An inaccurate reading can leave the candy too soft or too firm.
- Choose a deep saucepan: The syrup expands and foams while boiling, so leave enough room.
- Follow the cooling instructions: Don’t begin stirring until the syrup reaches the recommended temperature.
- Watch the texture: The mixture should become lighter and thicker before you pour it into molds.
- Prepare your equipment in advance: Have the molds and utensils ready before the syrup finishes cooking.
- Keep moisture away: Wet equipment and humid storage conditions can make the finished candy sticky.
The most important thing is to follow the temperature and stirring instructions in the same recipe. Mixing methods from different recipes can lead to inconsistent results.
Common Mistakes to Avoid
- Getting the Temperature Wrong: Syrup that isn’t heated enough can produce soft, sticky candies. Too much heat can make them hard or give them a burnt taste. Use a candy thermometer to check the temperature.
- Stirring Too Soon or Too Late: Stirring at the wrong time can affect the candy’s texture. Let the syrup cool to the recommended temperature before stirring, then continue until it becomes thick and cloudy.
- Taking Too Long to Fill the Molds: The mixture starts to set as it cools, making it harder to pour. Keep your molds ready and fill them as soon as the mixture reaches the right consistency.
- Choosing the Wrong Syrup: Pancake syrup often contains other sweeteners and may not produce the right texture. Use pure maple syrup for the best flavor and results.
How to Store Homemade Maple Candies
Let the candies cool completely before storing them. Their surfaces should be dry, as trapped moisture can make the candy sticky.
Place them in a clean, airtight container and keep it in a cool, dry place away from direct sunlight and heat. Avoid storing them near a kettle, stove, or other source of steam.
Humidity can affect sugar candies, particularly during warm or rainy weather. Refrigeration is not always necessary and may cause condensation when the candies are removed. If you choose to refrigerate them, protect them from moisture and allow them to adjust to room temperature while still covered.
Storage life depends on the recipe, the moisture remaining in the candy, and the conditions in which it is kept. Follow your recipe’s storage guidance and discard candies that develop mold or an unusual smell.
Different Ways to Enjoy Maple Candies
Homemade maple candies make a simple treat on their own, but you can serve them in several ways.
- With tea or coffee: Offer one or two candies after a meal.
- As homemade gifts: Arrange maple leaf candies in food-safe gift boxes for birthdays or holidays.
- On a dessert platter: Serve them alongside shortbread, cookies, or other small sweets.
- In different shapes: Use leaf, heart, or flower molds to suit different occasions.
- As a seasonal treat: Share them during maple syrup season or include them in a homemade sweets collection.
Different molds and simple packaging can make these candies suitable for gifts without changing the basic recipe.
Wrapping Up
Making maple candies at home is a simple way to turn pure maple syrup into a traditional sweet treat. You don’t need many ingredients, but you do need to pay attention to temperature, cooling time, and the moment you begin stirring.
Once you understand how to make maple candies, you can prepare them in maple leaf molds, cut them into small pieces, or package them as homemade gifts. This recipe yields approximately 24 small candies and takes around 55–90 minutes from preparation to setting. Start with a small batch, keep your equipment ready, and follow the recipe’s temperature instructions carefully. With practice, you’ll get a better feel for the syrup’s changing texture and know when it’s ready to pour.
Frequently Asked Questions (FAQs)
Q1. What do you need to make maple candies?
You only need pure maple syrup for a basic recipe. A candy thermometer and silicone molds also make the process easier.
Q2. Can you make maple candies without a candy thermometer?
Yes, but checking the syrup’s temperature by eye can be difficult. A candy thermometer helps you get the right texture more consistently.
Q3. Why are my maple candies still sticky?
The syrup may not have been cooked to the correct temperature, or the candies may need more time to dry. Store them in a cool, dry place once fully set.
Q4. How long does it take to make maple candies?
Homemade maple candies usually take 55–90 minutes, including preparation and cooling. The time may vary depending on the recipe and mold size.
Q5. Can you make maple candies with pancake syrup?
Pancake syrup is not a good substitute for pure maple syrup because its added ingredients can affect the texture. Use pure maple syrup for the best results.