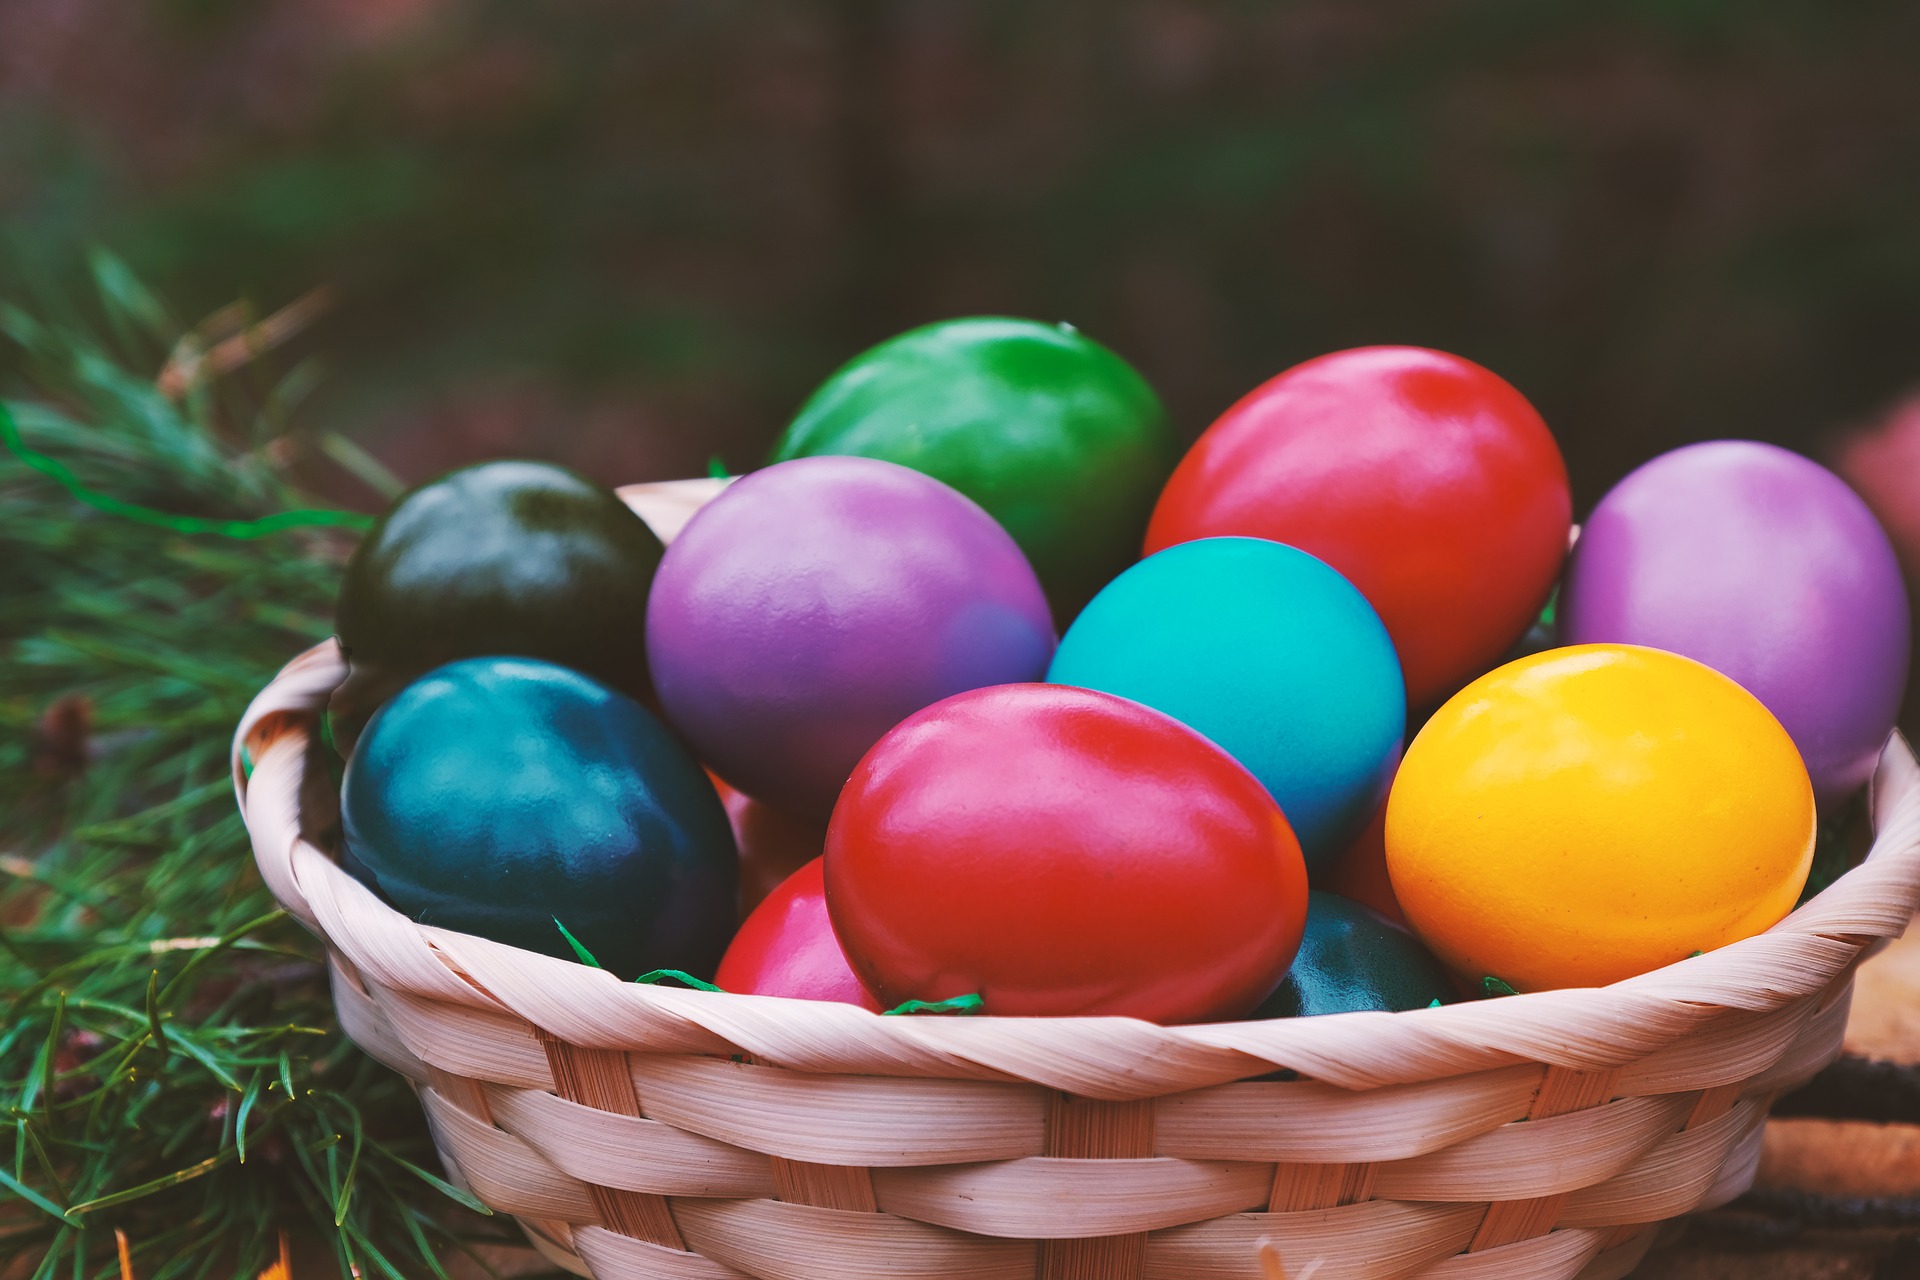
Due to the COVID 19 pandemic, you might not be able to buy Easter eggs from your favorite bakery or cake shop. Rather than being disappointed and devoid of having an Easter egg, it is better to make them at home. Here, we will give you three different methods to make decorative Easter eggs that you can DIY.
The significance of Easter eggs will always remain among friends and families. It is one of the traditions that brighten up the experience of Easter. In 2020, we need to look forward to new beginnings and the essence of Easter eggs does bring in that vibe.
Table of Contents
Dyeing Easter Eggs
Have you ever tried to dye an Easter egg? It is an ancient type of decorating and is easier too. The best part about dyeing Easter eggs is that you’d probably have all you need already in the kitchen. When you start the process, you just need to do the basics of dyeing and a few extra steps to make the final output more appealing. If dyeing isn’t your thing, you can mold chocolate to make Easter eggs – we have all the options open. For now, let us see how to dye the eggs.
Step 1
The first step of dyeing an Easter egg is to keep the eggs in boiling water for around 10 minutes and let them become hard. Place eggs in a boiling pot and add it to the stove. Put water to cover the eggs by 1 inch. Set the water to boil. Once the water is boiling, cover your pot and put off the stove. Let it aside for around 10 mins and then put eggs in a bowl full of ice to cool down.
Step 2
Use a newspaper to cover a table for the next step. The process of dyeing brings in a lot of stains on the surface. In order to protect your table, you need to stack newspapers. Paper towels or old cloth that you don’t mind discarding after use can also work. You can also use a waste bag – anything that works and serves the purpose.
Step 3
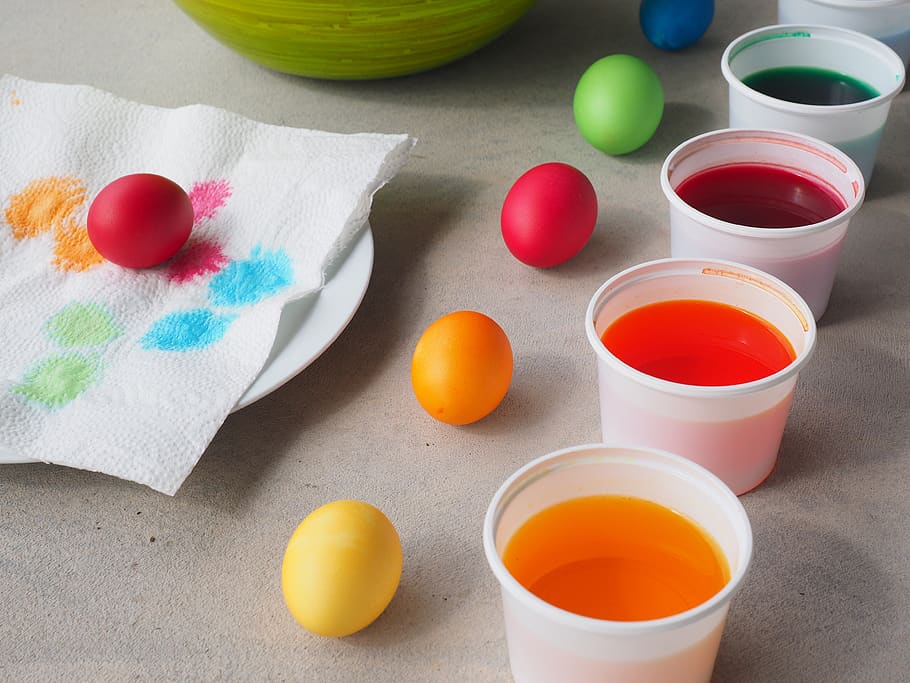
Take small bowls to add water, food coloring, and vinegar to them. You need half a cup of boiling water, half teaspoon of white vinegar, and half teaspoon of food colors in each bowl. Once you’ve arranged all of them, mix them together.
Now make as many colors you want by repeating the process of every color. Choose primary colors by adding half a teaspoon of blue to one bowl, red to another bowl, and so on. You can also mix colors to get different shades. For example, 1/4 teaspoon of blue and 1/4 teaspoon of green to make a mixture. You can also make different colors by blending two or more together. For example, 1/4 of blue with equal amounts of red will make purple. For making the colors look more intense, add a little more of food coloring. You can also add vinegar to water to make the colors brighter.
Step 4
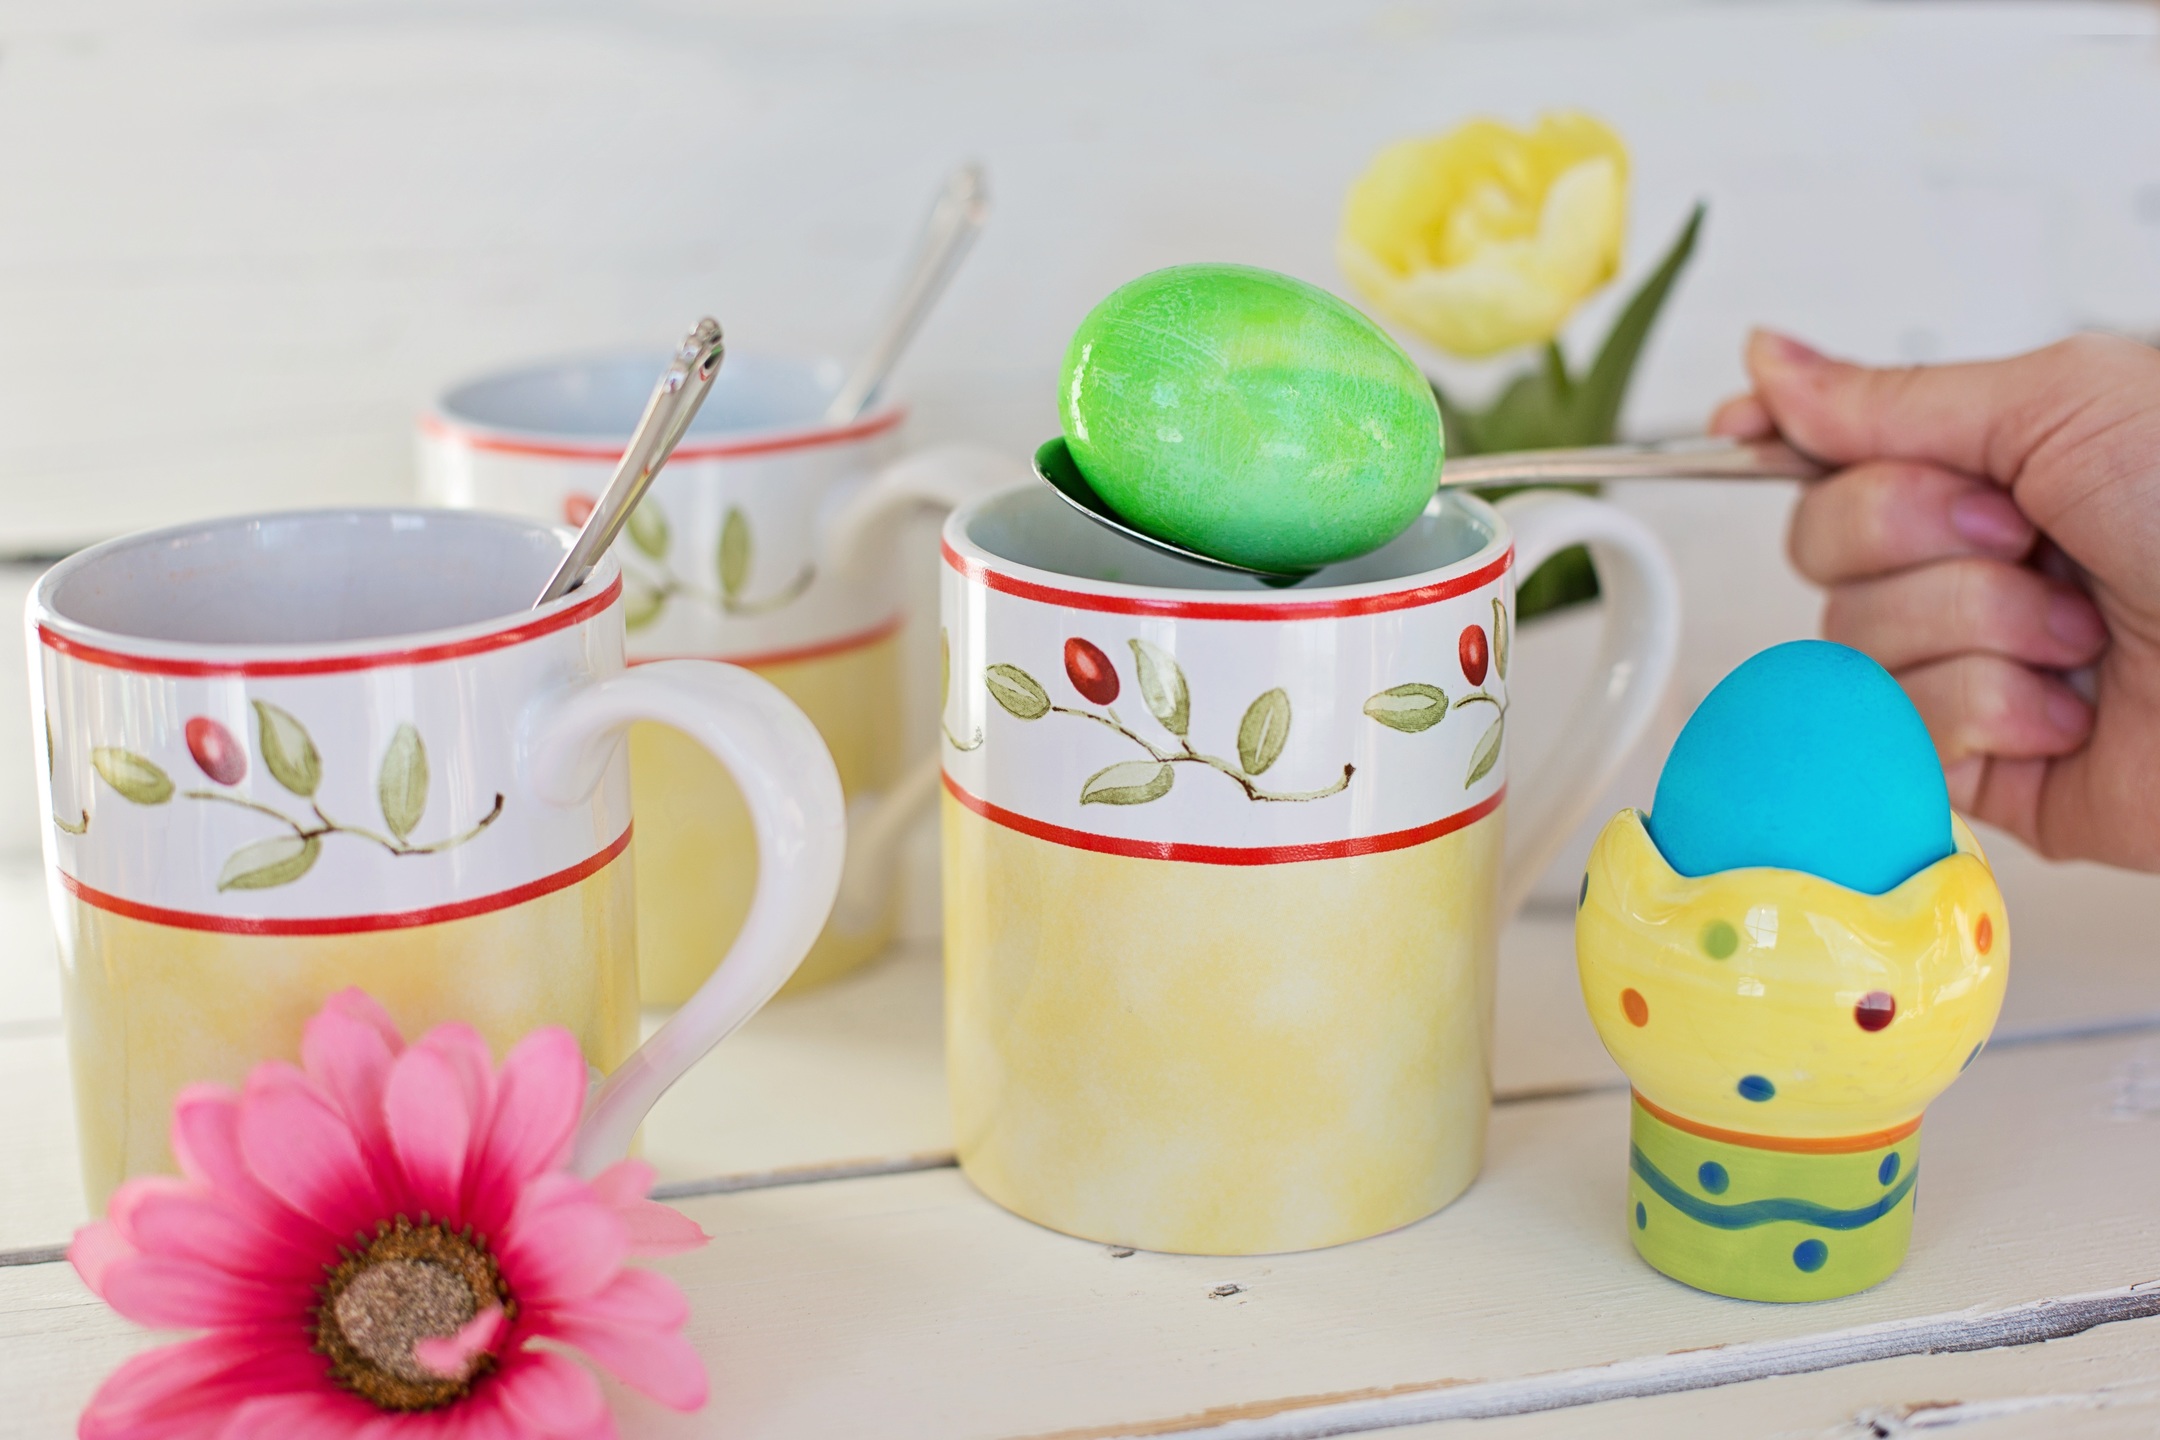
Soak the Easter eggs in the respective colors and let it sit for around five minutes. Take a spoon to make sure they dip deep into the colored water. Allow the eggs to soak for around five minutes by flipping them once a while to make sure they’re properly dyed. If you let them stay for a longer span of time, the colors will get better absorbed. You can use tongs in order to hold Easter eggs at a particular angle to dye on a particular side. Later, dye another side with another color. This will give a striped look and make your design more professional.
Step 5
Now it is time to dry the Easter eggs inside a carton or on the paper towels. Place them on your paper towels in order to let them dry completely or keep them in the egg carton and wait to dry off. You can also use a cardboard carton for this step.
If you plan to eat the eggs, don’t refrigerate for more than 2 hours. If you plan to use them for decoration, you can place them where you want to for show.
How to make dyed eggs interesting?
Here are a few ways to make dyed eggs interesting:
Splashing oil
You can make an Easter egg by splashing some oil into the dyed water. Add a spoon of cooking oil in any of the dyeing bowls. Mix it with well and add an egg to it. Now, roll it for some time and watch the color pick up in some spots and leave out the others. After five minutes, take out the egg and let it dry.
You can do the same with shaving cream, whipped cream, or vinegar. Add food coloring along with the option you choose. Soak the hardboiled eggs in the vinegar for a couple of minutes and then let them dry.
Spread the whipped topping or shaving cream and sprinkle edible coloring over it and add colors to it. Blend the colors with toothpick to bring consistency and then add the eggs for coloring. Let them stay for around 10 minutes and then wash off the mixture.
Adding stickers before dyeing
You can add letters, shapes, or stickers on the egg to make the designs interesting. Dip eggs like you normally do and peel off once the dyeing process is over. You can even play with the dyed color once you’re done with the eggs. Add to other decorative options to brighten up your Easter décor.
Use white crayon before dyeing
You can write funny things, add shapes, make zigzags on the eggs with a white crayon and then dye them. You can also make white dots and make a polka Easter egg. Once you dye the egg, the places that have the white crayon will start to show. The shapes or letters or dots will not catch the dye like the rest of the egg and will come out prominently. You can also remove wax by using a tong to hold an egg over one candle. Make sure it’s not near the flame. Wipe off the wax once done.
Tie rubber bands to create stripes
Use small and wide rubber bands to make stripes. Just wrap around the pieces so that they don’t cross over one another and are tight enough to not move. Dye eggs like you’d normally do and once that’s done, take off rubber band and you will find white stripes all over the egg.
Use natural dyes with plants and spices
You can create natural dyes by adding four cups of water and two tablespoons of vinegar in a pot. Bring it to boil by adding a mixture of plants and spices for half an hour. It will give you the desired color and that will be your dye. To try this, you can use:
- Chop pieces of beet for pink color
- Chopped purple cabbaged for blue
- Yellow onions to create orange
- 3 spoonful of turmeric to get yellow
Make sure there is enough of the ingredients to fill the pot and stay submerged. For soaking the eggs, let it stay in the dye for around 30 minutes.
How to mold chocolate Easter egg?
If you would rather mold chocolate eggs and not make dyed ones, you need to know how to make these. Follow the steps to do so:
Step 1
At first, you have to prepare the molds for chocolates by oiling and polishing them. Rub the inside of the molds with paper towel to take out any possible debris or to smooth them out. Add flavorless kitchen oil on a fresh paper towel. Now, smooth the oil by adding it lightly to the molds. The process will allow the chocolate to pop out.
Step 2
Chocolate the chocolates in fine pieces. If using a chocolate bar, take a knife to cut the chocolates into small pieces. The small pieces will help melt readily. If you want, you can try this step with chocolates chips.
Step 3
In the third step, you need to heat up chocolate over the double boiler. Add the chocolate to a bowl that is safe from heat and that you can seat on top of the pot. Add water right at the bottom of the pot and place it on stove by adding a bowl of chocolate on the top. Let the water come to a simmer and stir the chocolate on top to allow it to melt down.
By using a candy thermometer, check if the chocolate is warm at a targeted temperate of 110-degree F. Another way to melt chocolate is by adding it to the microwave at 50% power for 15-30 seconds. Keep stirring them well every time you warm it. continue the process until it melts completely.
Step 4
Allow the chocolate to cool down once you find it melted. Take the bowl off the pot by using kitchen gloves and let it cool. Make sure it doesn’t cool all the way – should be around body temperature and not too cold. Use the chocolate thermometer and allow it to reach 95 degree F.
Step 5
Add a spoonful of chocolate to every half mold and swirl for coating. Keep moving the mold around to make the chocolate coat inside the mold. If you have to, use a pastry brush for coating it completely. If there is any extra chocolate left, pour it back to the bowl.
Step 6
Let the eggs cool down for 20 minutes as this will let the chocolate harden in the mold before you add another layer to it. You need to lay it on a flat surface to speed up the process. You can also stick them in a refrigerator for around 5 minutes to get the same results.
Step 7
Use a flat edge to clean the edges of mold. Use a table knife or ruler around the edges and make it smooth. The process will allow two halves of the eggs to fit together in one moment.
Step 8
Keep adding layers in the same way before you let it refrigerate for an hour. Add the chocolate in and swirl around. allow the chocolate to cool and clean edges of the egg. Keep doing this to get 2-3 layers to give it a nice consistency. The results will give you a solid layer of chocolate in the Easter egg. Let it chill for one hour in the refrigerator.
Step 9
Unmold eggs and stick both two sides together by using heat. For doing so, gently unmold the eggs to make sure you don’t break them. Add them to a baking sheet and place them in the oven for some time and watch it heat up. Take it out when its warm and lay the eggs edge-side down and place in on the pan for some time. Once you find them melting a little, put halves up and press them together to create an egg shape. Make sure you quickly do the process as your body heat can make the chocolates melt. To make the Easter eggs more interesting, add surprising to the eggs like small candles or truffles.

Easter Sunday 2020
Easter 2020 is not the same as every year for most parts of the world. The world is a shutdown mode in order to survive and see better years to come. Even if celebrations for Easter 2020 has be cut short, we must remember the essence of the celebration. The resurrection of Lord Jesus after his crucifixion shows us the significance of life and new beginnings. At the crucial stage that our world is in right now, we must be extremely careful of our wellbeing. We must protect children and the elderly who are at more risk to get infected by the novel coronavirus.
We must ensure safety and try to make our Easter 2020 plans as low-key as possible. This is to ensure that we are all in good health for the years to come. It is time to try out the easy Easter egg recipes and retain the beautiful essence of new beginnings.